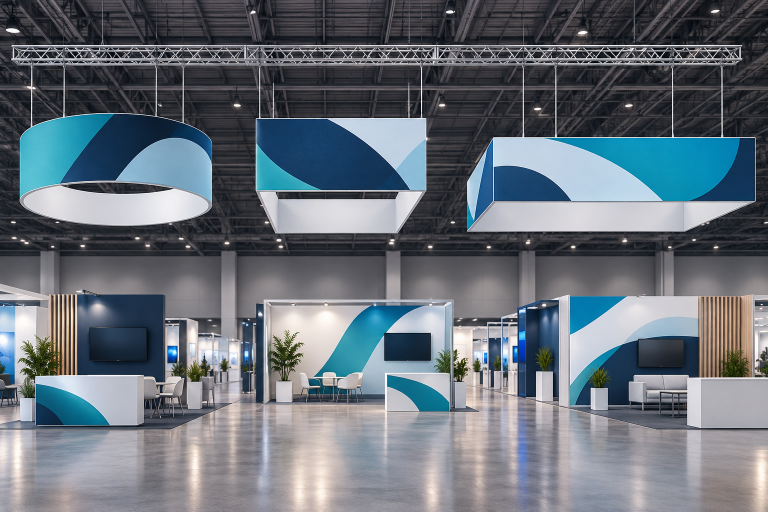
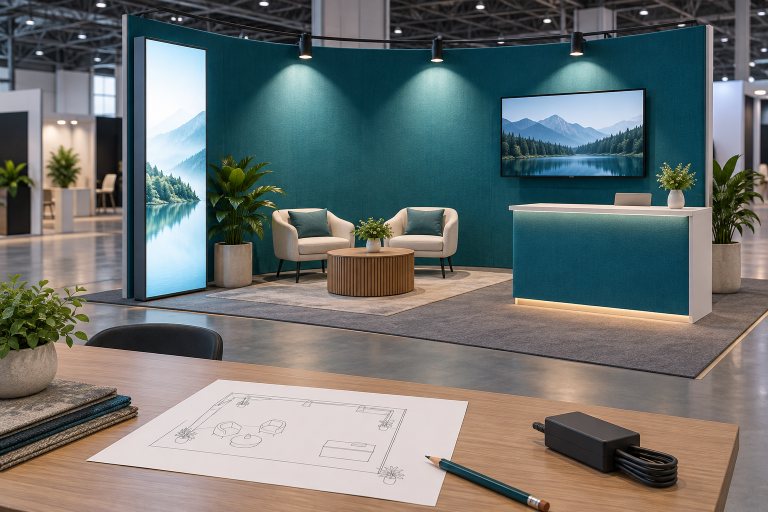
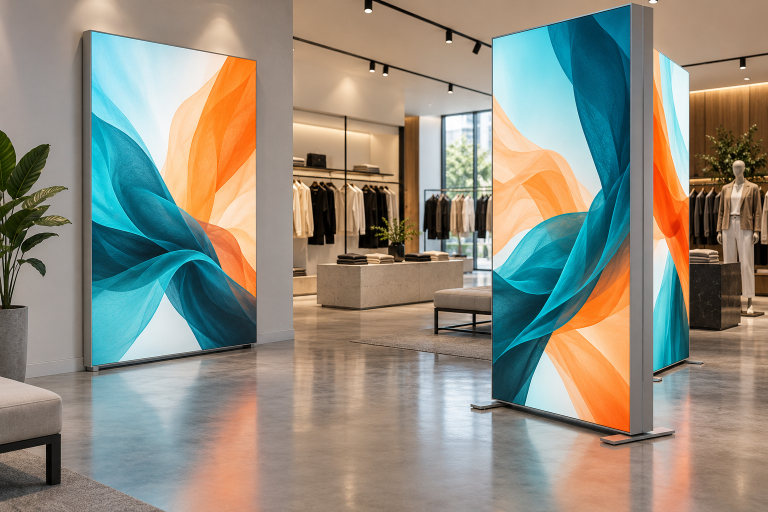
Brands prefer aluminum exhibition booths because they are lighter to move, faster to assemble, easier to update, and more practical to reuse than booths rebuilt for every event. The saving is not created by aluminum alone. It depends on compact packing, clear installation documents, replaceable graphics, tested load limits, and a frame that can fit several future booth sizes.
An aluminum booth is usually suitable for a company that attends several exhibitions each year, changes campaign graphics often, or books different stand sizes. It may be less suitable for a one-time sculptural project, very heavy machinery without separate support, or outdoor use without engineering for the actual site.
What Is an Aluminum Exhibition Booth?
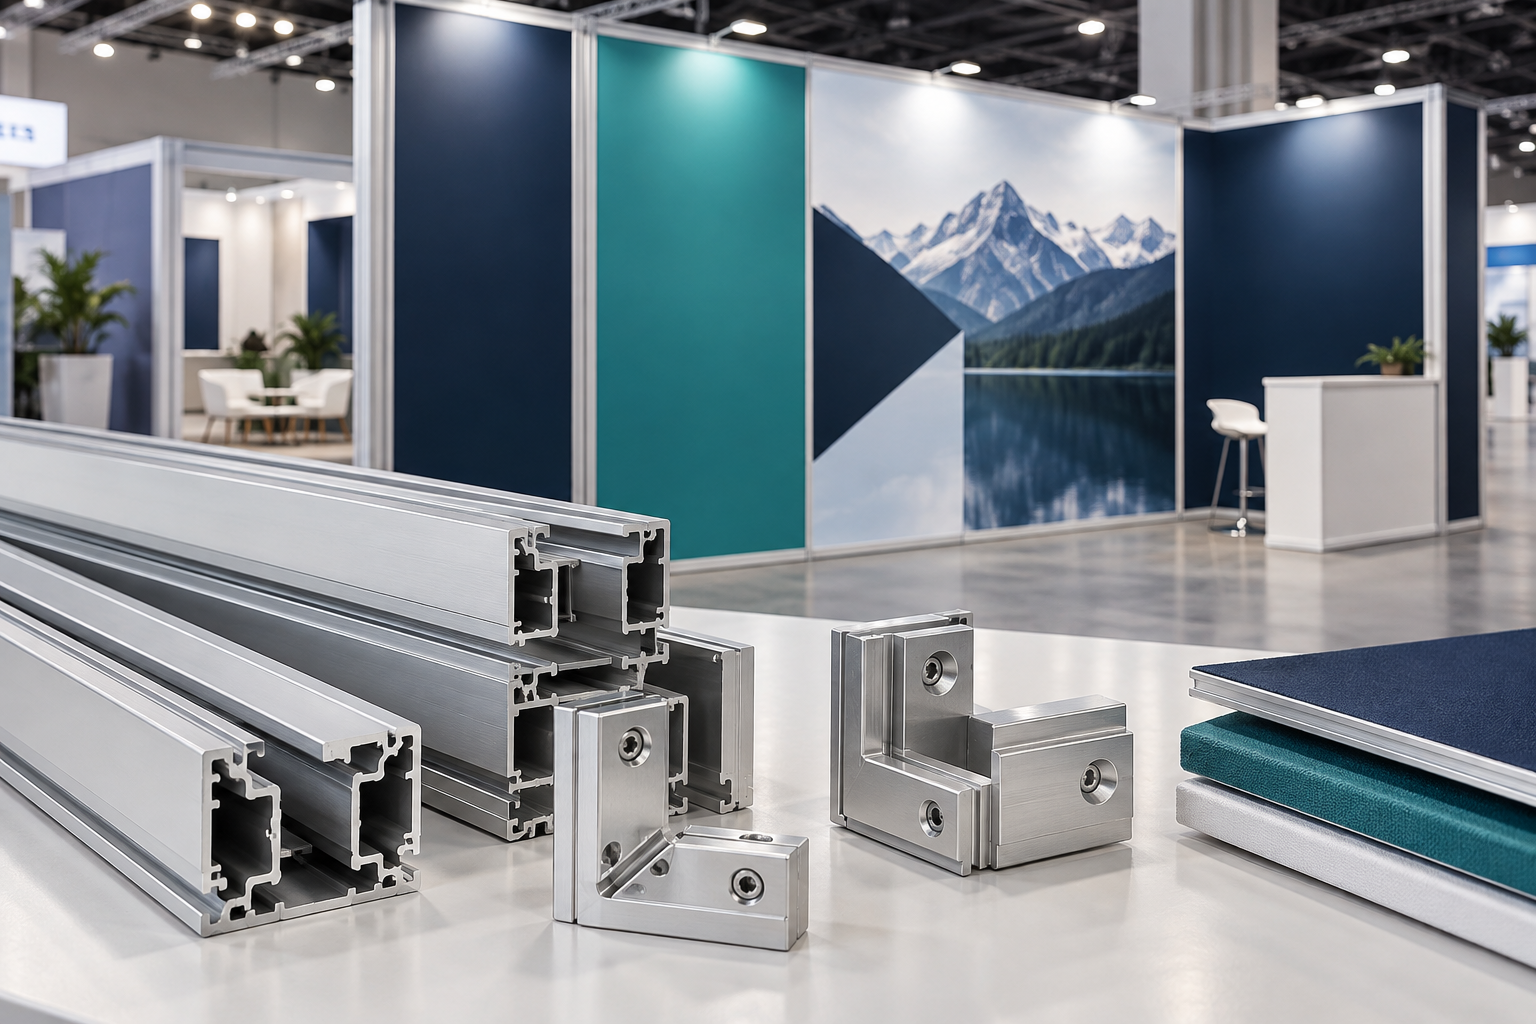
An aluminum exhibition booth uses extruded aluminum profiles as its main frame. The profiles contain channels or slots for connectors, fabric graphics, rigid panels, lights, shelves, doors, cable routes, and screen brackets.
The frame may remain visible, but it is often covered by tension fabric, silicone-edge graphics, rigid boards, or illuminated panels.
Do not accept vague terms such as “premium aluminum” or “aircraft-grade aluminum” without a material specification. Aluminum strength and corrosion resistance depend on the alloy, temper, profile shape, wall thickness, and connection design. The Aluminum Association maintains recognized alloy and temper designation systems, so a supplier should be able to state the material being supplied.[1]
Before ordering, ask for:
- Aluminum alloy and temper
- Profile cross-section
- Profile wall thickness
- Connector and fastener type
- Maximum wall height
- Maximum unsupported span
- Required bases, braces, or ballast
- Surface finish
- Replacement-part availability
- Compatibility with future components
A wider profile is not automatically stronger. The completed booth also depends on wall height, connection points, base size, bracing, shelf positions, and screen locations.
Common systems include portable folding frames, fixed-size modular frames, and separate profiles joined with connectors.
Portable systems have fewer parts and are easier to move, but they normally offer fewer layout options. Profile-and-connector systems can build more shapes, but they require better labeling, packing, and inventory control.
A supplier’s exhibition display range can help buyers see which walls, lightboxes, arches, banners, and screens work within the same product family.
Simple component example:
A small backdrop may contain 20 main frame pieces, while a larger booth with return walls, storage, shelves, lights, and screen supports may contain more than 80 labeled parts. These figures are project examples, not industry standards. The important point is that the number of parts increases quickly when accessories are added.
Why Booth Weight Affects More Than Shipping
Booth weight affects factory loading, freight, customs handling, warehouse movement, venue delivery, installation, dismantling, and return shipping.
Lighter parts are easier for workers to carry and position, but a lightweight frame does not always produce a low freight bill.
Air freight may be charged by actual weight or dimensional weight. Dimensional weight is based on the space occupied by the shipment, and the higher result may be used for pricing.[2]
Packing-volume example:
Suppose a booth is packed into eight cases. Each case measures 1.2 × 0.8 × 0.7 meters.
Volume per case: 1.2 × 0.8 × 0.7 = 0.672 m³
Total volume: 0.672 × 8 = 5.376 m³
A second booth may use six cases measuring 1.0 × 0.7 × 0.6 meters.
Total volume: 1.0 × 0.7 × 0.6 × 6 = 2.52 m³
The first booth may have a lighter frame but occupy more than twice the shipping space. This can make the second booth cheaper to transport.
Compare complete shipment data, not frame weight alone:
- Total gross weight
- Total packed volume
- Number of cases
- Size of every case
- Longest case dimension
- Whether cases can be stacked
- Whether a forklift is required
- Whether cases fit venue doors and lifts
The gross weight must include graphics, counters, lights, power supplies, brackets, shelves, screens, cables, tools, spare parts, and packaging. A quotation listing only the aluminum frame weight is not enough for freight planning.
The longest case also matters. A three-meter case may fit inside a truck but fail to pass through a service lift, hotel corridor, loading door, or convention-center route.
Freight and venue material handling are separate costs. Freight moves the shipment to the venue or advance warehouse. Material handling may include unloading, movement to the booth, empty-case storage, return of cases, and loading after dismantling.
A lighter booth may reduce some costs, but it will not remove venue minimum charges or fixed service fees.
Ask for a case-by-case packing report before shipping. Each case should show its dimensions, gross weight, contents, opening order, stacking limit, and handling method.
How Aluminum Booths Reduce Setup Time
An aluminum booth can be faster to install because most parts are prepared before reaching the venue.
Profiles can be cut and labeled in the factory. Connectors can be selected. Graphics can be printed to finished size. Lighting positions and cable routes can be tested. Cases can then be packed in the order needed for assembly.
A practical fast-install system should have:
- Numbered profiles and connectors
- Clear assembly drawings
- Graphics labeled by wall and direction
- A limited number of connector types
- Accessible cable routes
- Cases packed in installation order
- A parts checklist for each build stage
Be careful with “tool-free” claims. The main wall may connect without power tools, while base plates, shelves, doors, screens, counters, and electrical parts still require hand tools.
Tool-free also does not mean skill-free. Workers still need to keep the frame level, install graphics correctly, route cables safely, and check every connection.
Ask for the complete setup time, not only the empty-frame time. Timing should start with closed transport cases and end when the booth is level, powered, cleaned, checked, and ready to use.
The time should include:
- Unpacking
- Frame assembly
- Leveling and bracing
- Graphic installation
- Lighting
- Screens
- Shelves and counters
- Electrical work
- Product placement
- Cleaning and inspection
Track both elapsed time and total labor hours.
Total labor hours = number of workers × hours worked
Labor example:
| Installation Plan | Workers | Hours | Total Labor Hours |
|---|---|---|---|
| Plan A | 6 | 10 | 60 |
| Plan B | 4 | 6 | 24 |
If labor costs $60 per hour, Plan A costs $3,600 and Plan B costs $1,440. The difference is $2,160 before overtime, electrical work, or venue charges.
This is an illustrative calculation, not an industry labor-price benchmark.
For a custom booth, ask the supplier to assemble the real layout before shipping. A full prebuild can find incorrect graphic sizes, missing connectors, unstable screen positions, blocked cable routes, and packing mistakes before the shipment leaves the factory.
A video-guided booth setup case also shows why instructions made for the actual booth are more useful than a generic manual.
Reuse Depends on Future Layouts
A frame is reusable only when the same parts can serve future events.
A booth made from many one-off profile lengths may survive several shows but still require major rebuilding whenever the floor plan changes.
Before production, list the booth sizes the company may book during the next two or three years. Ask the supplier to show:
- Parts used in every layout
- Extra parts required for larger layouts
- Custom parts that work only once
- Unused parts in each layout
- Graphics that must be replaced
- Changes to storage rooms, screens, and entrances
A small stand may use a tension fabric backdrop booth. A larger stand may add return walls, a storage room, a branded entrance arch, lightboxes, or screens.
Layout-reuse example:
| Layout | Existing Parts Used | New Parts Required |
|---|---|---|
| 3 × 3 m inline booth | 30 parts | 0 |
| 3 × 6 m corner booth | 30 parts | 18 parts |
| 6 × 6 m peninsula booth | 42 parts | 26 parts |
In this example, the company reuses most of the original system and buys extension parts instead of a complete second booth. Actual part counts depend on the selected system.
More flexibility is not always better. A system with many profile lengths and connector types can build more layouts, but it is harder to count, pack, and install.
Choose the simplest system that covers the layouts the company is likely to use.
Calculate the Cost per Event
A reusable booth is not free after the first show. The frame may be reused, but the company may still pay for freight, installation, graphics, storage, repairs, and electrical service.
Use this calculation:
Cost per event = share of fixed costs + event-specific costs
Fixed costs may include:
- Design
- Engineering
- Aluminum frame
- Transport cases
- Initial graphics
- Accessories
- Training and documents
Event-specific costs may include:
- Freight
- Material handling
- Installation and dismantling
- New graphics
- Storage
- Repairs
- Electrical service
- Local changes
Four-show cost example:
| Cost Item | One-Time Booth | Reusable Aluminum Booth |
|---|---|---|
| Initial structure | $12,000 per show | $24,000 once |
| Structure cost over four shows | $48,000 | $24,000 |
| Graphic updates after first show | Included in each rebuild | $1,500 × 3 = $4,500 |
| Storage | $0 | $2,000 |
| Minor repairs | $0 | $500 × 3 = $1,500 |
| Illustrative total | $48,000 | $32,000 |
In this simplified example, the reusable system saves $16,000 after four shows. Freight, labor, electrical work, and venue charges are excluded because they vary widely by location and project.
These figures are an example, not a market-price benchmark.
Calculate at least three cases: low use, expected use, and high use. A booth that appears economical over ten events may be expensive if it is used only three times.
Graphics Should Be Easy to Replace
Graphics usually become outdated before the frame. Products change, campaigns end, and local distributors may need different text.
The main value of a modular booth is that the visible graphic can change without replacing the full structure.
Common graphic systems include:
- Silicone-edge fabric
- Tension fabric sleeves
- Magnetic panels
- Rigid printed boards
- Backlit fabric
Silicone-edge graphics use a thin silicone strip sewn around the fabric. The strip is pushed into a channel in the frame to tension the print.
For every graphic, request:
- Exact finished size
- Artwork template and bleed
- Fabric or panel specification
- Print method
- Edge type
- Seam position
- Required fire document
- Replacement price
- Replacement lead time
A graphic that is too small may pull out at the corners. A graphic that is too large may wrinkle.
Large graphics may require seams. Do not place a seam through a logo, face, product name, or small text.
Graphic-area example:
A wall measuring 3 meters wide and 2.5 meters high has a visible area of 7.5 m².
If a campaign changes, replacing one 7.5 m² fabric graphic is normally simpler than rebuilding a complete 3 × 2.5 meter wall, provided the original frame remains suitable.
Keep the final artwork, print dimensions, material name, and an approved color sample. Colors may look different on a computer screen, front-lit fabric, backlit fabric, acrylic, or painted panels.
Important brand colors should be checked on the real material under the lighting used at the show.
For companies that change campaigns often, interchangeable SEG graphics allow the frame to stay in use while only the fabric print is replaced.
Lighting Must Be Tested as a Complete Wall
A lightbox can make a booth easier to see, but good lighting depends on LED spacing, the distance between the LEDs and the graphic, print material, power-supply size, heat control, and cable access.
If LEDs are too far apart, the wall may show bright and dark bands. If they are too close to the fabric, individual light points may become visible.
A failed power supply should be reachable without taking the whole wall apart.
Test the finished wall in the factory with the final graphic installed. Check:
- Dark corners
- Bright bands
- Visible LED points
- Color changes across the print
- Loose electrical connections
- Unusual heat or noise
- Access to replacement parts
A purpose-built SEG LED lightbox booth can be easier to maintain than adding lights to a frame that was not designed for backlighting.
Electrical-load example:
| Equipment | Quantity | Power per Unit | Total |
|---|---|---|---|
| LED lightbox | 2 | 300 W | 600 W |
| Display screen | 2 | 180 W | 360 W |
| Laptop | 2 | 90 W | 180 W |
| Product equipment | 1 | 500 W | 500 W |
| Total connected load | 1,640 W |
The electrical order must cover the complete 1,640 W example load, not only the 600 W used by the lightboxes. A qualified supplier or venue electrician should determine the final circuit size and safety margin.
For international shows, confirm input voltage, plug type, total power, and who is allowed to make electrical connections at the venue.
Shelves, Screens, and Product Loads Need Real Limits
Do not assume a wall can hold a product simply because the profile feels strong.
A shelf load depends on the profile, wall height, bracket, shelf depth, number of fixing points, base size, and position of the product.
Shelf-force example:
A 10 kg product placed 0.2 meters from the wall creates a simplified load moment of:
10 × 0.2 = 2 kg·m
The same product placed 0.5 meters from the wall creates:
10 × 0.5 = 5 kg·m
The product weight has not changed, but the simplified bending effect is 2.5 times greater because the product is farther from the wall.
A useful load report should state:
- Safe working load
- Where the test weight was placed
- Shelf depth
- Number of brackets
- Attachment method
- Required wall reinforcement
- Required base or ballast
- Test duration
- Any permanent bending after testing
Repeated public use may create more stress than a short factory test. Visitors may press a touchscreen, lean on a counter, open drawers, or lift products from a shelf.
Test the booth in the way it will actually be used.
Screens create a concentrated load and may pull a narrow wall forward. Confirm the screen weight, bracket weight, VESA pattern, mounting height, frame reinforcement, base size, ventilation, cable access, and locking method.
Screen-load example:
A screen weighing 32 kg with a 6 kg bracket creates a total fixed load of 38 kg before cables, media players, or visitor pressure are considered.
The supplier should design for the complete 38 kg load, not only the listed screen weight.
A decorative panel should not carry a screen unless it is designed for that load.
Touchscreens need a stiffer wall because visitors push against the screen. For a large digital display, a separate mobile LED screen system may be safer than attaching the full load to a lightweight graphic wall.
Overhead signs need venue approval and a proper rigging plan. A lightweight tension fabric hanging banner reduces suspended weight, but the frame, cables, attachment points, and safety measures must still follow venue rules.
Storage and Parts Control Are Part of the Cost
A reusable booth needs a clear process after every event. Missing connectors, wet graphics, damaged profiles, and unrecorded repairs can remove the time saving at the next show.
After dismantling:
- Count all parts before closing the cases
- Separate damaged parts from usable parts
- Photograph damage
- Dry and clean graphics
- Update the inventory
- Order replacements before the next event
Aluminum does not form iron rust like untreated steel, but it can still stain or corrode in damp, salty, or chemically contaminated conditions.
Fabric, acrylic, timber, steel brackets, LEDs, and printed panels also need suitable storage conditions.
The storage area should be dry, clean, secure, and large enough for safe stacking. OSHA requires stored materials to remain stable and secure against sliding or collapse, with storage areas kept free of hazards.[3]
Each part should have a number. The inventory should show:
- Part name
- Part number
- Quantity
- Case number
- Current location
- Compatible layouts
- Condition
- Repair history
- Replacement lead time
Inventory example:
A booth with 100 labeled parts and a 2% missing-part rate would arrive at the next event with two missing parts.
Two missing decorative pieces may cause only a visual problem. One missing main-wall connector may stop the installation. Parts should therefore be ranked by importance, not only counted by quantity.
Barcodes or QR codes can speed up checks, but someone still needs to own the inventory process.
Carry a spare-parts kit with the booth. Useful items include connectors, screws, leveling feet, graphic edge strips, shelf brackets, cables, LED modules, power supplies, and end caps.
Choose spare parts according to the damage a failure could cause, not only the price of the part.
Aluminum, Wood, and Steel Serve Different Jobs
Aluminum vs wood: Wood-based booths are useful for one-time shapes, layered finishes, and custom decorative work. They often require more on-site cutting, finishing, and disposal. Aluminum is usually more practical for repeated indoor use, replaceable graphics, predictable assembly, and changing layouts.
Many booths use aluminum for the reusable frame and a smaller amount of wood for counters, product displays, or feature walls.
Aluminum vs steel: Steel is often used for heavy machinery, long spans, equipment platforms, and large overhead loads. Aluminum is easier to handle for graphic walls, lightboxes, portable counters, and modular rooms.
A booth can use both materials: aluminum for the display system and separate steel support for heavy loads.
Do not compare materials by weight alone. Compare the complete booth, including section size, bracing, connectors, packing, labor, storage, and expected number of uses.
Venue Rules Must Be Checked Before Production
There is no single set of booth rules that applies to every event. The International Association of Exhibitions and Events publishes display-rule guidance to help organizers create more consistent standards, but the actual event manual remains the document exhibitors must follow.[4]
Before production, send the current exhibitor manual to the booth supplier and confirm:
- Maximum construction height
- Open-side and sightline rules
- Stand-plan approval requirements
- Fire documents for fabrics, panels, floors, and ceilings
- Electrical and cable rules
- Rigging and hanging-sign rules
- Contractor registration
- Move-in and move-out times
- Accessible routes and entrance requirements
Official venue requirements may also change by event. Messe Frankfurt tells exhibitors to check both its technical guidelines and event-specific rules. Some special or larger structures require plans and structural documents before setup.[5]
Fire certificates must match the actual material delivered. A certificate for one fabric does not cover a different fabric that only looks similar.
Check the manufacturer, product name, test method, material thickness, date, and language accepted by the venue.
Temporary cables should be protected from sharp edges, doorways, and other places where they may be crushed or damaged.[6]
Cable covers should not create a trip hazard or block an accessible route.
In the United States, the ADA Standards include requirements for accessible routes, doorways, and clear widths in many public facilities. The exact rules for an exhibition booth depend on the event and local requirements.[7]
Indoor Booths Should Not Be Used Outdoors Without Engineering
Outdoor use adds wind, rain, uneven ground, drainage, temperature changes, and water near electrical parts.
A broad fabric wall can catch wind like a sail, so general rules such as “one weight per wall” are not reliable.
An outdoor plan should cover:
- Expected wind and gusts
- Wall and roof surface area
- Base size, ballast, and anchors
- Ground strength and slope
- Drainage and rainwater control
- Outdoor-rated electrical equipment
- Weather monitoring
- Shutdown or dismantling procedures
The UK Health and Safety Executive treats temporary demountable structures as a separate event-safety area and points organizers to guidance for safe construction, use, and dismantling.[8]
Water-resistant graphics do not make the full booth weatherproof. Indoor power supplies, connectors, floors, and extension cables may still be unsuitable outdoors.
If the supplier cannot provide an engineering basis for the exact outdoor layout, use a structure designed and approved for outdoor events.
Buying Checklist
| Area | What the Supplier Should Provide |
|---|---|
| Frame | Alloy, temper, profile section, wall thickness, connectors, bracing, maximum height, and replacement parts |
| Packing | Every case size, gross weight, packed volume, contents, stacking limit, and handling method |
| Installation | Crew size, complete labor hours, tools, drawings, setup video, and prebuild evidence |
| Graphics | Finished sizes, artwork templates, material, seams, fire documents, replacement price, and lead time |
| Loads | Safe loads for shelves and screens, test position, reinforcement, base size, and anti-tipping method |
| Lighting | Total power, voltage, LED test, cable plan, power-supply access, and replacement method |
| Reuse | Future layouts, shared parts, extra parts, one-use parts, and upgrade costs |
| Compliance | Current event manual, approvals, fire documents, electrical rules, rigging rules, and accessibility checks |
| Support | Warranty, spare-part lead time, installation support, repair process, and responsibility for freight or labor claims |
Warning signs include quotations based only on frame weight, load figures with no test position, installation times that exclude graphics and screens, one fire certificate used for every material, no part-number system, no spare-parts plan, and no drawings for future layouts.
Conclusion
An aluminum booth creates value when it reduces work across several events, not simply when the frame is light. Before buying, compare total packed volume, complete setup labor hours, verified shelf and screen loads, parts reused in future layouts, and the rules of the actual venue. In the four-show example, a $24,000 reusable system reached $32,000 after graphics, storage, and repairs, compared with $48,000 for four separate $12,000 booths. The result will vary, but the method is useful: request a full prebuild, packing report, electrical schedule, load report, and layout-parts list before approving production.